Some useful tools for managing courses and Bookings
Course administration
When you start off, it is quite easy to keep track of your courses, especially if you are a Freelancer – Google Calendar is pretty much all you need. Perhaps a basic spreadsheet to keep track of courses and invoices.
As your Business grows and you take on your own courses, all at different stages of enquiry, it becomes harder to track and you need something more robust. If you get to the stage of employing freelancers or other admin staff the Organisation has to grow up and robust procedures put into place to allow different people to manage the processes.
When I started out, I started off with a spreadsheet, one row per course with various fields to fill in. As you can see, this became unmanageable as the number of courses grew. Excel is not very user friendly unless you spend a lot of time with coding behind the scenes. Still, we worked with it for a few years.

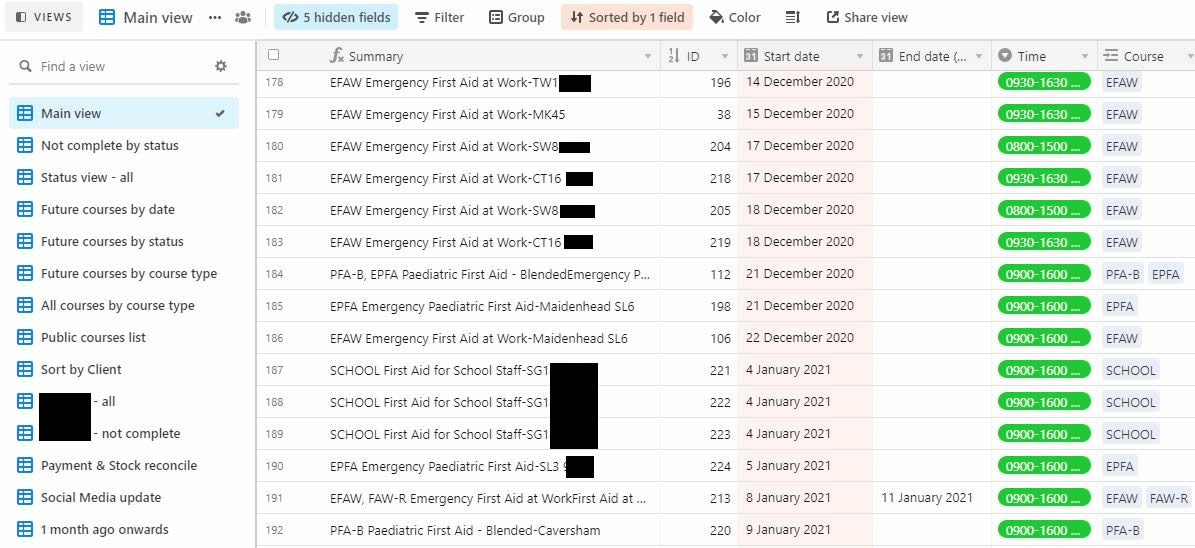
And then came Airtable. Airtable prides itself as a cross between a Database and a Spreadsheet. I tried it for a short period, couldn’t get the hang of it so abandoned it. I revisited it in January 2020, having looked at other software and this time it all fell into place. It is easily the best tool that I have found to manage my courses. There is a learning curve to it, but it is not steep and they go out of their way to make it user friendly.
You have Bases, Tables and Records. A Base is the complete Universe. Your Account can have more than one Base, but they cannot interact. I have one for courses, another for managing stock and so on…
Within a Base, a Table is a list of items along with attributes for that item. For example:
Trainers: Some of the attributes are First Name, Surname, telephone, qualifications and so on.
Courses: Some of the attributes are start and end dates, status, course type and so on.
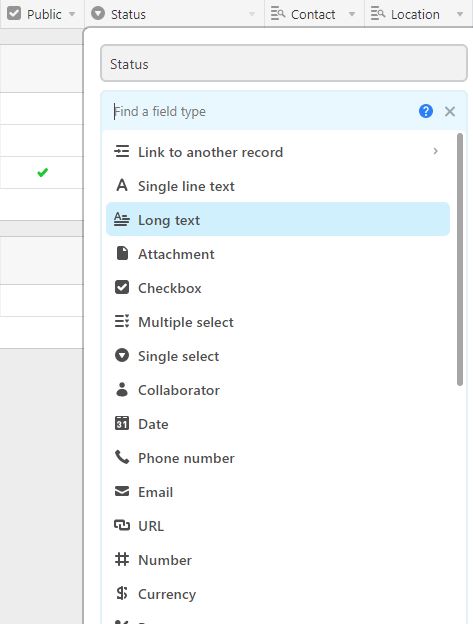
The tables can interact so, for instance I can link one of the Trainers to a course. The course type can be a separate table that also links to courses. If a course type is updated then Airtable automatically updates all the references to it.
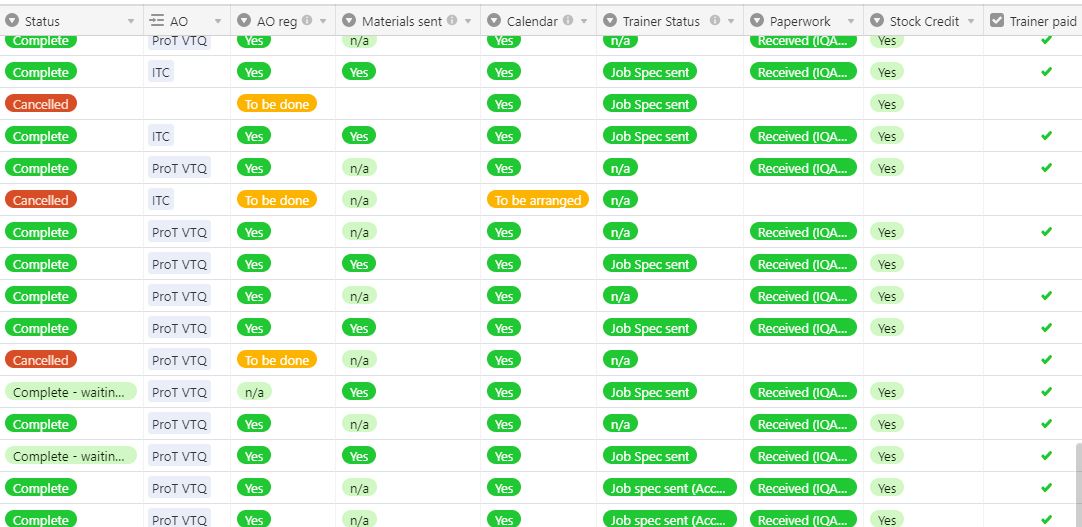
The power in the system is the ‘views’ feature. Each Table can have a lot of attributes (my course table currently has 31) which is too much to view at once, but I can created a View of, say ‘incomplete courses’. Within that View I filter out the attributes that I am not interested in. It will hide all courses that have been completed. Another View could be courses that have not yet been paid for. In other words if I am chasing invoices I would focus on that View, which hides anything irrelevant.
Needless to say, all the records can be sorted, columns can be rearranged for a view and colour coding helps me see progress at a glance.


Airtable works on the ‘Freemium’ model. You can register and get going with a Free version of the Plan, however with a limit of 1200 records it does not take long to complete this. Paid for models are still a bargain, though and I am using the Pro version, which is just $144 (about £100) a year. This gives me 50,000 records and a raft of other features for not a lot of money. They are bringing out additional features all the time.
Records, Bases & Views can be securely shared with third parties.
Compared to fighting with a spreadsheet it has easily saved me the $144 in Annual fees in my time alone.
All I can do is suggest you give at least the Free version of Airtable a go. In this website’s Premium section, the Base that I use for managing my course is available to start you off.
Taking Bookings
The easiest way of taking Bookings and payment is to raise an invoice – either through an Accounts package or a Template in Word (or your equivalent). This is how I started and for Group Bookings this is still the case.
For Open (public) courses, however, where you are liaising with up to 12 people, some of whom Book, but never pay and are a no-show on the day this can be a real hassle.
I now use a ticketing website. I enter the course details onto the ticketing site. I use WordPress for my Business websites and the Ticketing App has a WordPress plugin. I have installed that and the course then magically appears along with a ‘buy ticket’ button. Visitors can click the button, buy as many available tickets as they need and pay online. I get a confirmation email. A couple of days later the money arrives in the Bank. All for £1-2 fees.
Payment is made at the time of Booking. No chasing of invoices and if there is a no-show it is not a problem as they have already paid – no voids. How you deal with no-shows is, of course, up to you. We ran a COVID guarantee for a while so that no-one lost out if they had to isolate for instance. Now we take a pragmatic view. if someone just doesn’t show up, then they will lose the fee, however if they get in touch beforehand with a reasonable reason for not being able to attend we will consider a reschedule or a refund.
My Ticketing website of choice is Ticket Tailor. I tried Eventbrite but have found Ticket Tailor to be more flexible and, more importantly, cheaper. It uses Stripe to manage the payment side so you will also need a Stripe Account.
The mantra for organising courses is to automate as much as you can. The less time that you spend managing a Booking, the more time you have to develop the Business – or take a break. Time is also, of course, money so your business will be more profitable.

